Replication of Surface Structures with Polydimethylsiloxane (PDMS Soft Lithography)
The procedure shown here was modified by T. Armbrister, G. Grigoriev, K. Hansgen, Z. Hess, T. Ksander, X. Ma, J. Reid, A. Rini, and S. Rudisill from D. J. Campbell, K. J. Beckman, C. E. Calderon, P. W. Doolan, R. M. Ottosen, A. B. Ellis, and G. C. Lisensky, Journal of Chemical Education, 76, 537-541, (1999).
PDMS is cured by an organometallic crosslinking reaction to give an optically transparent polymer with the ability to reproduce surface features. In this experiment the polymer is cured in contact with optical transform slides or the pits on a CD or DVD. How well are the original features copied? Use diffraction of a laser beam to measure the original feature sizes and the sizes of the copied features. Since PDMS is flexible the surface features imprinted into the elastomer can be also be distorted mechanically and their changing spacings monitored by diffraction.
| Procedure | Wear eye protection |
Chemical gloves recommended |
 Never look directly into a laser
or shine a laser at another person. Never look directly into a laser
or shine a laser at another person. |
PDMS monomer can be messy. Cover work surfaces with foil. |
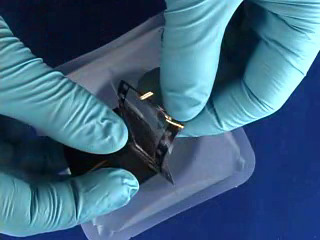
Preparation of PDMS
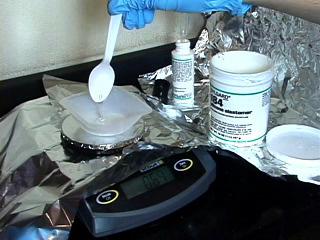
Add 4.00 g of Sylgard polymer base to a large weighing boat using a disposable plastic spoon. Add 0.40 g of curing agent using a disposable dropper.
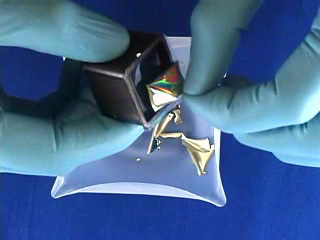
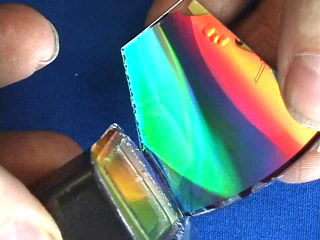
Optical Transform Slide used as a lithography master
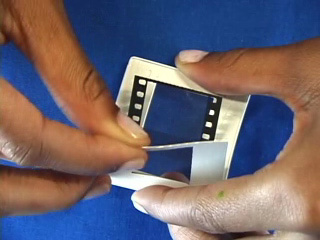
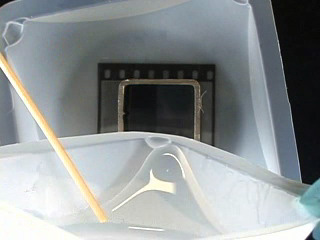
Everyone should do an optical transform slide and either a CD or DVD
Recordable CD used as a lithography master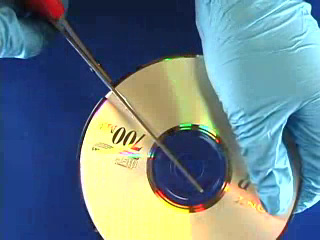

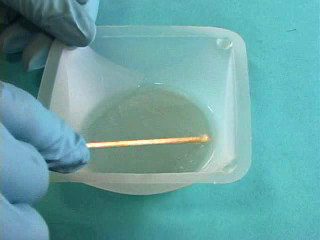
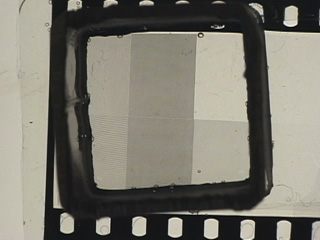
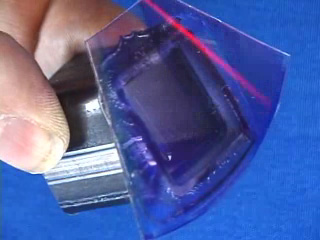
Place a piece of square tubing on top of the original pattern. Slowly pour much of the other half of the PDMS mix into the mold assembly. Minimize use of the stir stick since too many bubbles are created. Let the assembly sit at room temperature for a few minutes so that bubbles incorporated during pouring can rise out of the PDMS. Gentle blowing over the surface may also eliminate bubbles. Bubbles will interfere with the diffraction experiments. Place the mold in the oven at 130°C for 20 min or 90°C for 30 min.

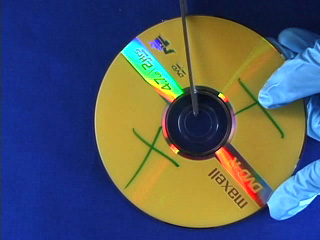
Recordable DVD used as a lithography master
Place a piece of square tubing on top of the original pattern. Slowly pour much of the other half of the PDMS mix into the mold assembly. Minimize use of the stir stick since too many bubbles are created. Let the assembly sit at room temperature for a few minutes so that bubbles incorporated during pouring can rise out of the PDMS. Gentle blowing over the surface may also eliminate bubbles. Bubbles will interfere with the diffraction experiments. Place the mold in the oven at 130°C for 20 min or 90°C for 30 min.
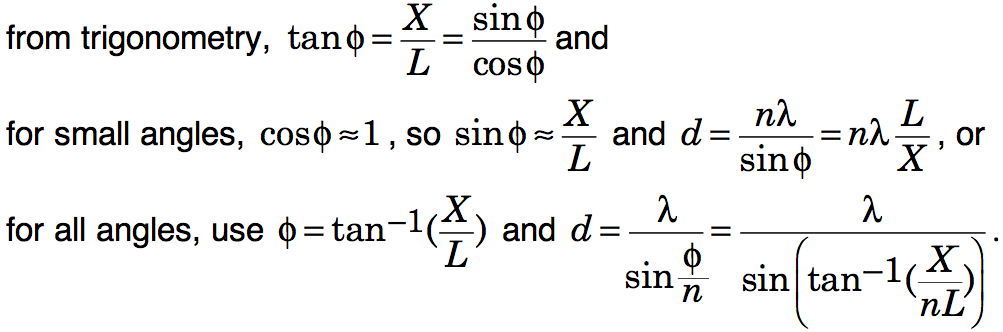
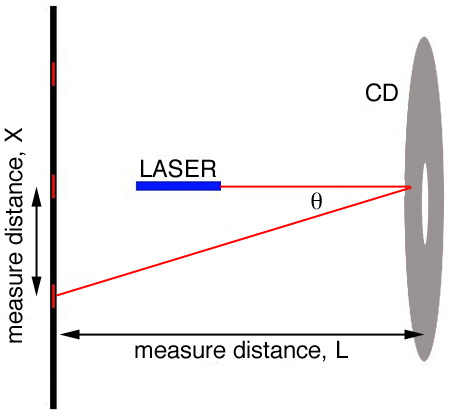
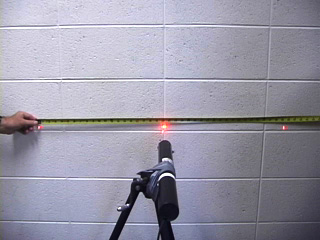
Optical diffraction to measure feature sizes
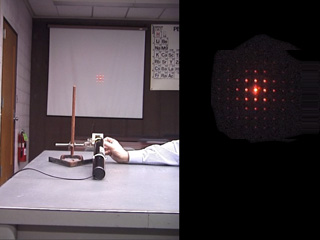
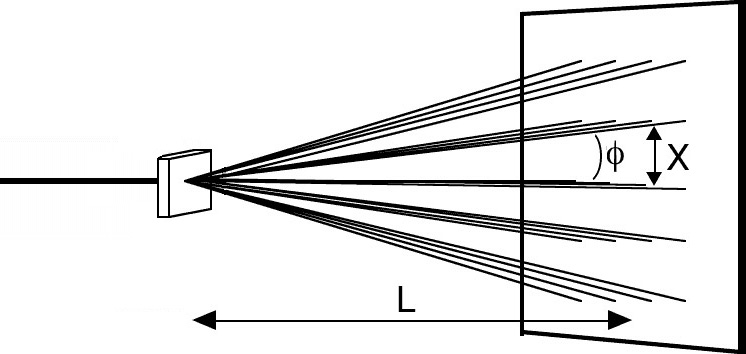
If X is the diffraction spot spacing and L is the PDMS slab-to-screen distance then
If you stretch the PDMS slab, how does the diffraction pattern change?
How well is the track spacing copied for the CD and DVD?
Calculations and Conclusions
1. What is the feature spacing for the original samples? Show your calculations. Report your values in either µm or nm.2. What is the feature spacing for the PDMS copies? Show your calculations.
3. Are the copied features the same size as the original features?
4. Do the feature sizes of the media disks match the known feature sizes for such disks?
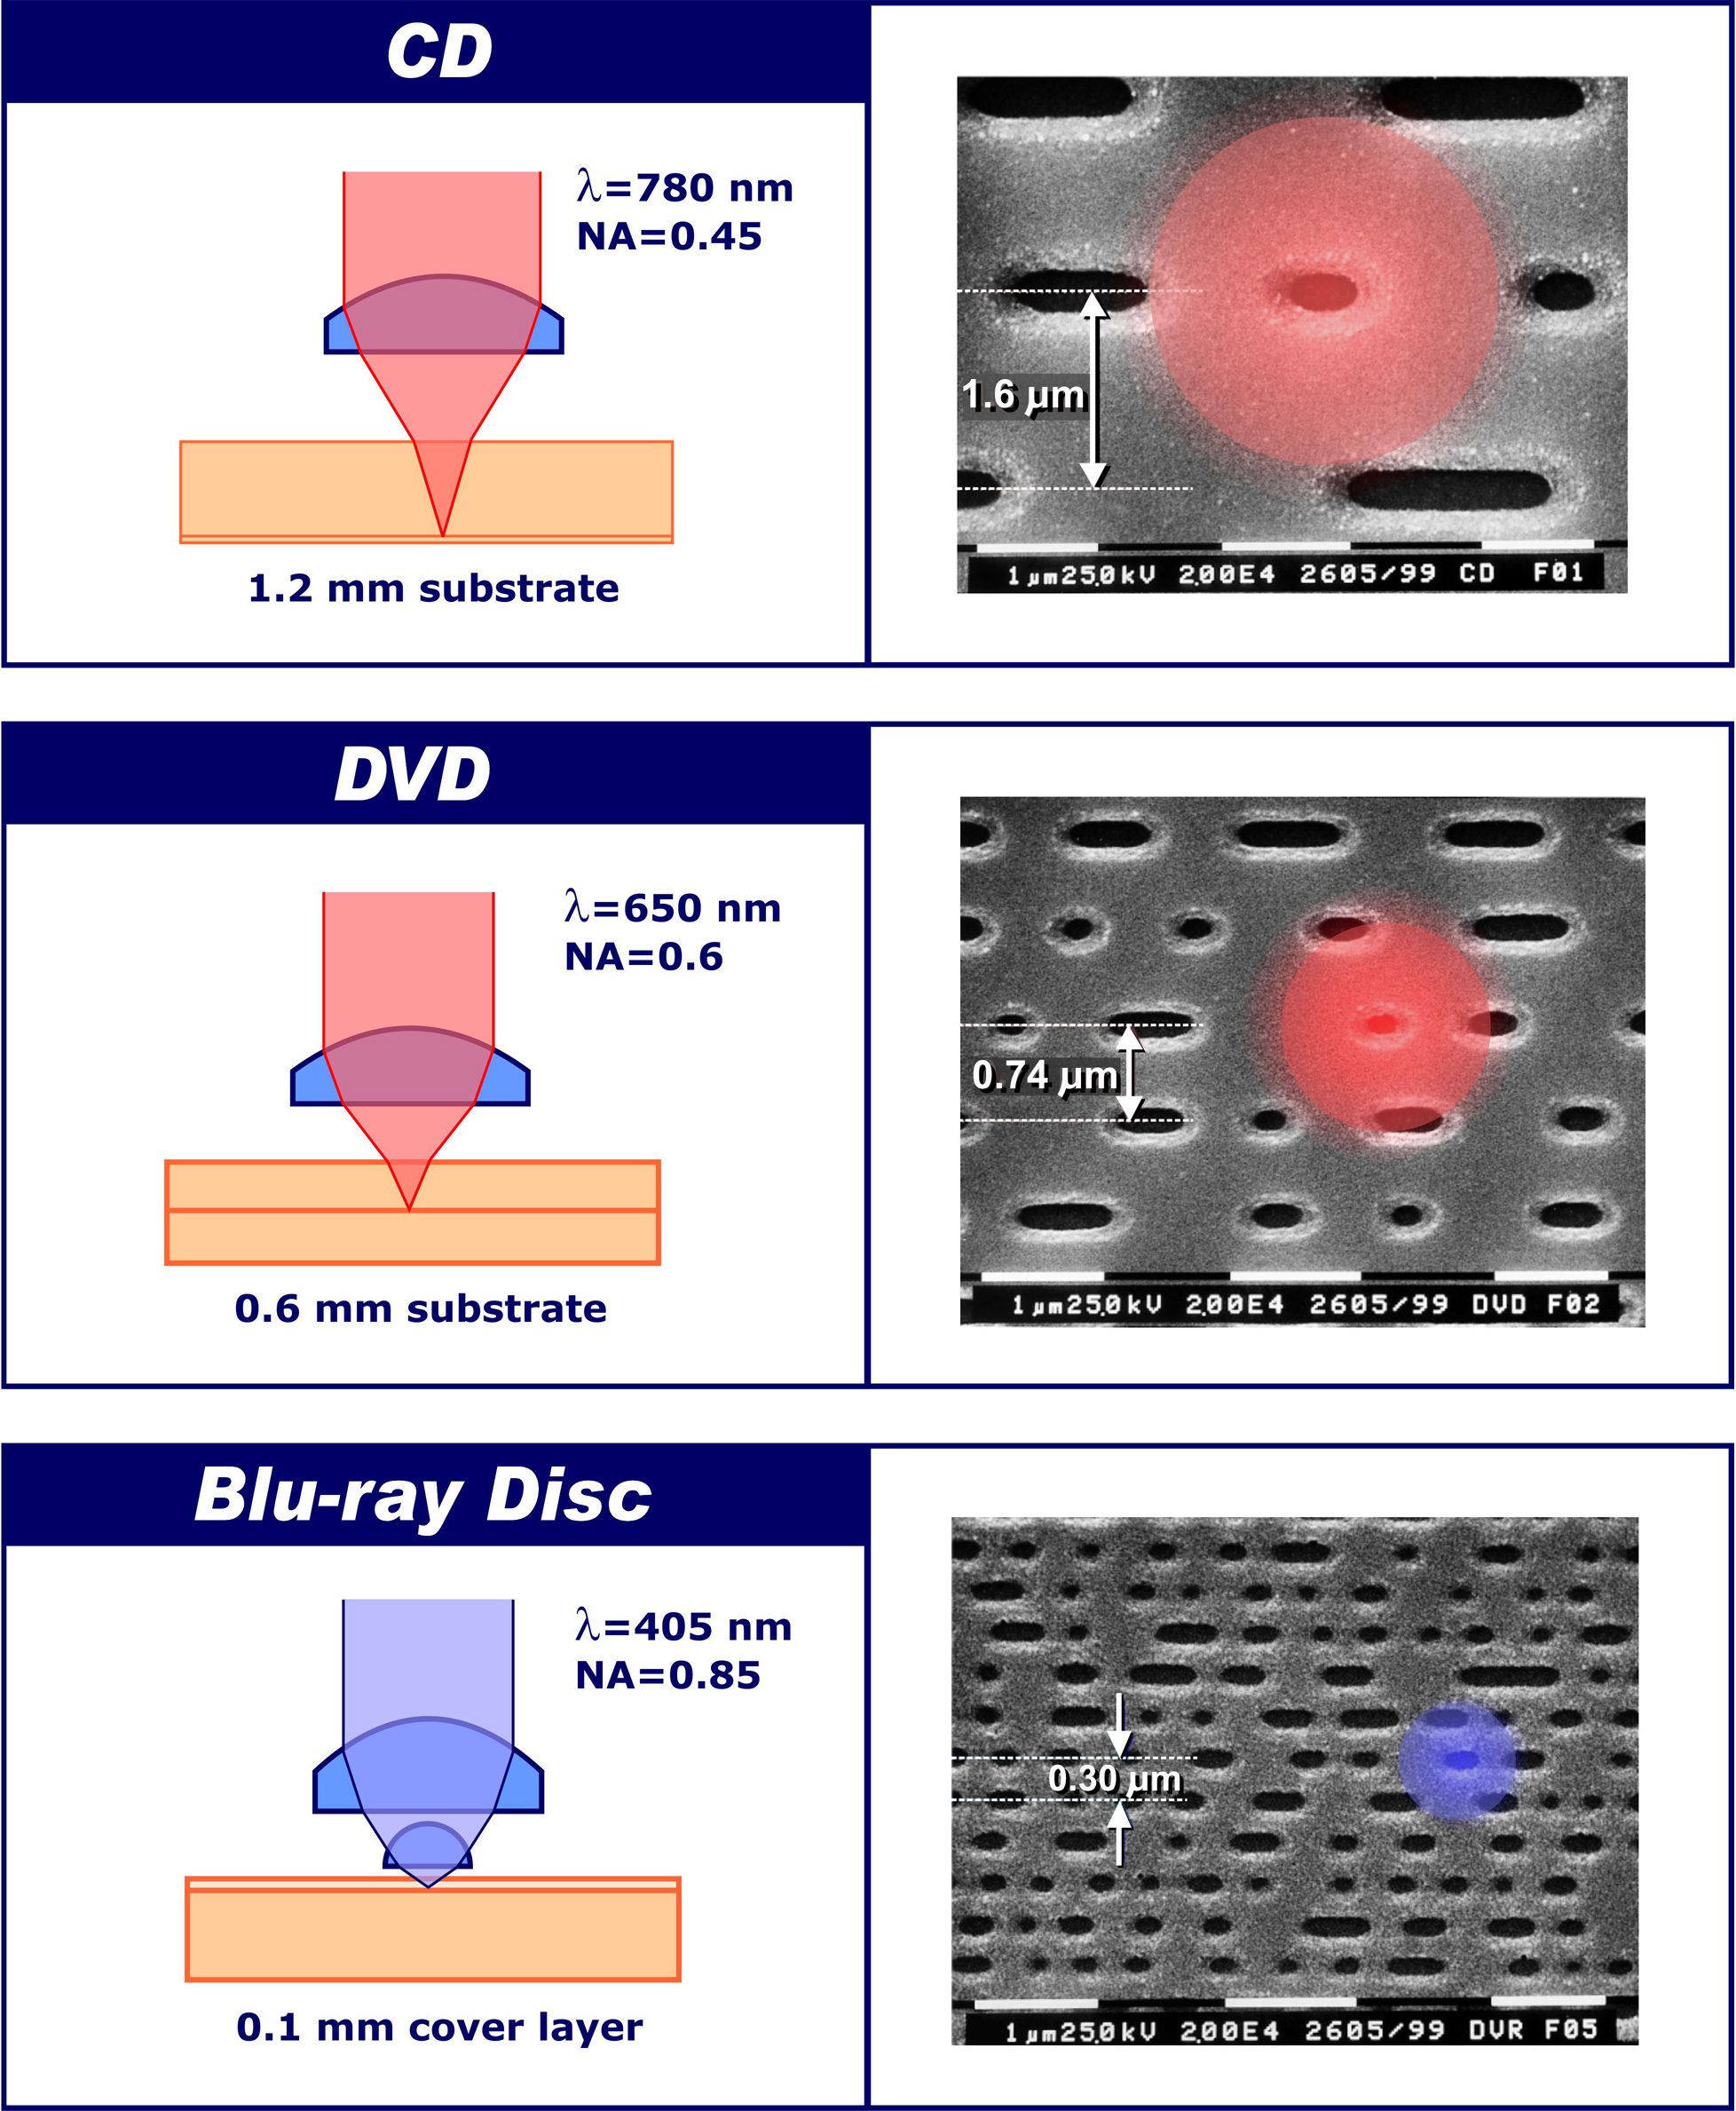
The right column shows scanning electron microscope pictures of different recording media with accompanying laser spots. Photos courtesy of Philips Research. Philips Research Password, 2, January, 2000.
5. When you stretch the PDMS slab, how does the diffraction pattern change?

- PDMS base and curing agent (Dow Corning Sylgard Elastomer 184 Kit, available from Ellsworth Adhesive)
- Aluminum foil
- Disposable gloves
- Weighing boats (100 mL)
- Plastic spoon, dropper, stir sticks
- Sonicator (optional)
- Optical Transform Slides, Institute for Chemical Education, Madison, WI. A lower quality alternative is to use a dithering pattern (from standard computer art programs such as Canvas, Photoshop, or from the box shading function in Microsoft Word) printed onto a transparency.
- Molds cut from 1x1 inch 14 gauge (.083") square metal tubing
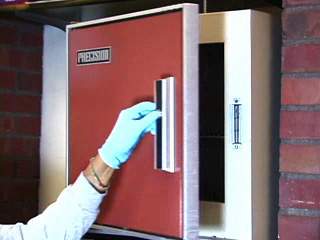
- Oven (130 °C)
- CD-R or DVD-R (Sony CD-R and Maxell DVD-R used successfully above) and scissors
- Red laser or laser pointer with known wavelength
- Tape measure